
When I first got a pressure cooker, one of the first things I wanted to know was how to cook rice.
I mean sure, cooking rice on the stove is simple enough. But then you have to worry about stirring, and checking, and stirring again. Turning the heat down and then avoiding it sticking to the bottom of the pot. Which results in pot scrubbing, and washing, and scrubbing again.
Now I know what you’re thinking: small potatoes. What kind of person can’t cook rice on the stove? A busy person, I say. A person that doesn’t enjoy babysitting food or scrubbing pots bent over the kitchen sink.
Because when you have your own pressure cooker, you literally push a button and then don’t think about it until the timer goes off.
What kind of person likes pressure cookers? A forgetful person who can’t remember to stir things. A tired person. And a person who likes flashy buttons.
Basically, it’s a busy mother’s dream appliance.
Perfect rice every time
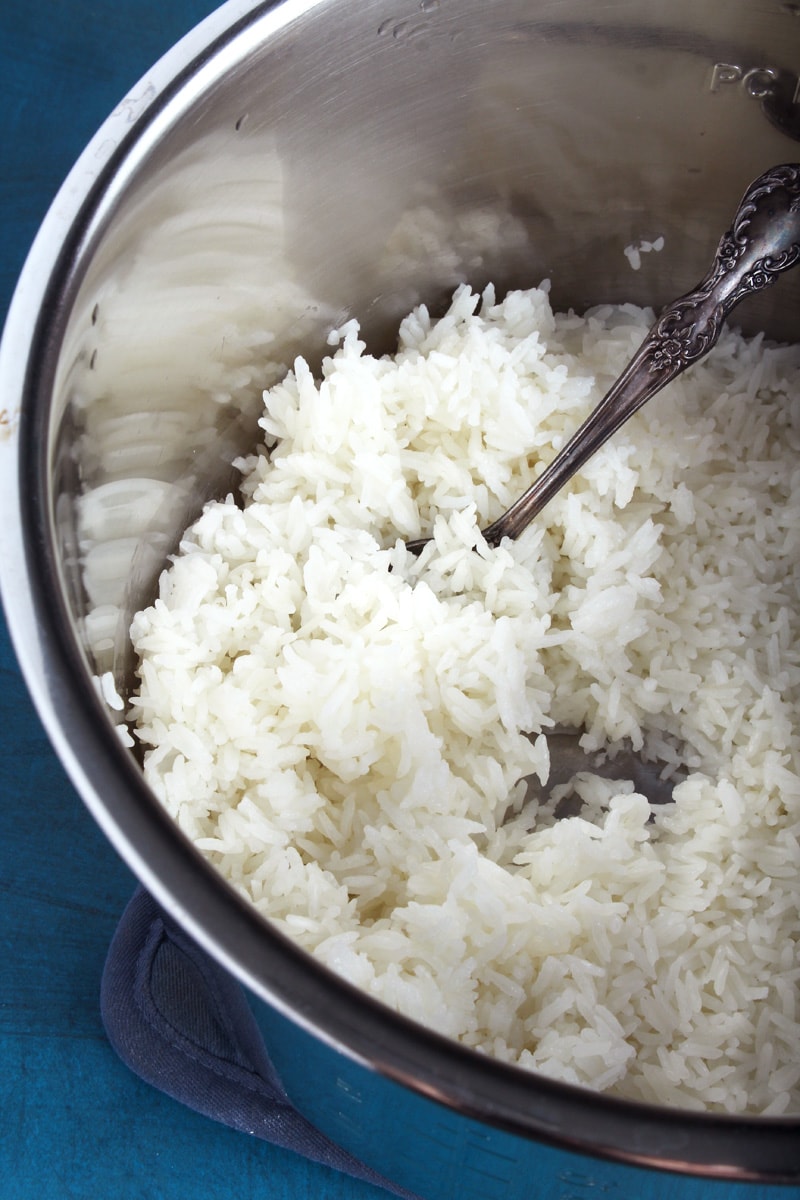
With a pressure cooker, you no longer have to worry about making perfect rice, because the appliance does all the work for you. All you have to do is measure, rinse, and press a couple buttons.
This is fabulous because it frees you up to make something that actually goes on the rice, like Broccoli in Garlic Sauce or General Tso’s Cauliflower (recipe in my new cookbook, “Vegan Comfort Food).
Frequently Asked Questions about Instant Pot rice
I know I had a lot of questions about cooking rice in the Instant Pot when I first started using my pressure cooker. I must have looked it up a bazillion times before I found my own rhythm. Here are a few FAQ’s.
What is the water to rice ratio?
This part is easy. Rice in your pressure cooker or Instant Pot works with a 1:1 ratio. So for 1 cup of dry rice, you would need 1 cup of water.
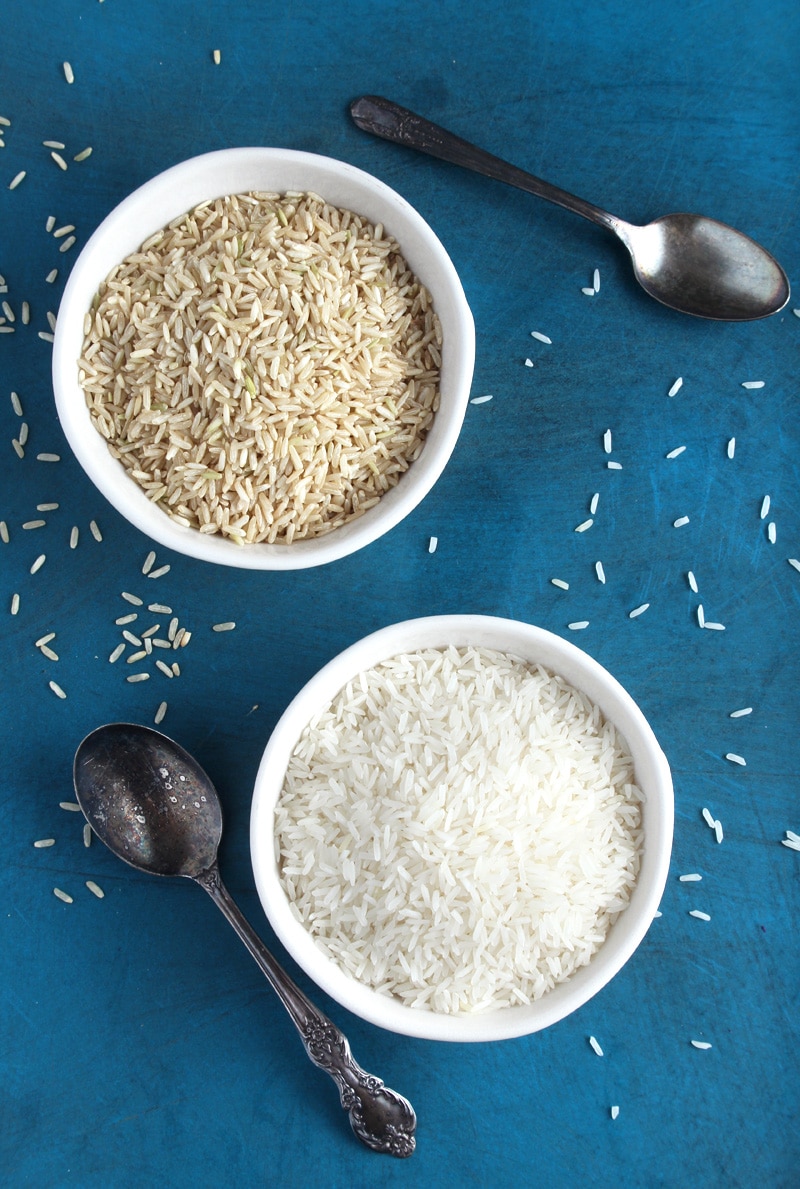
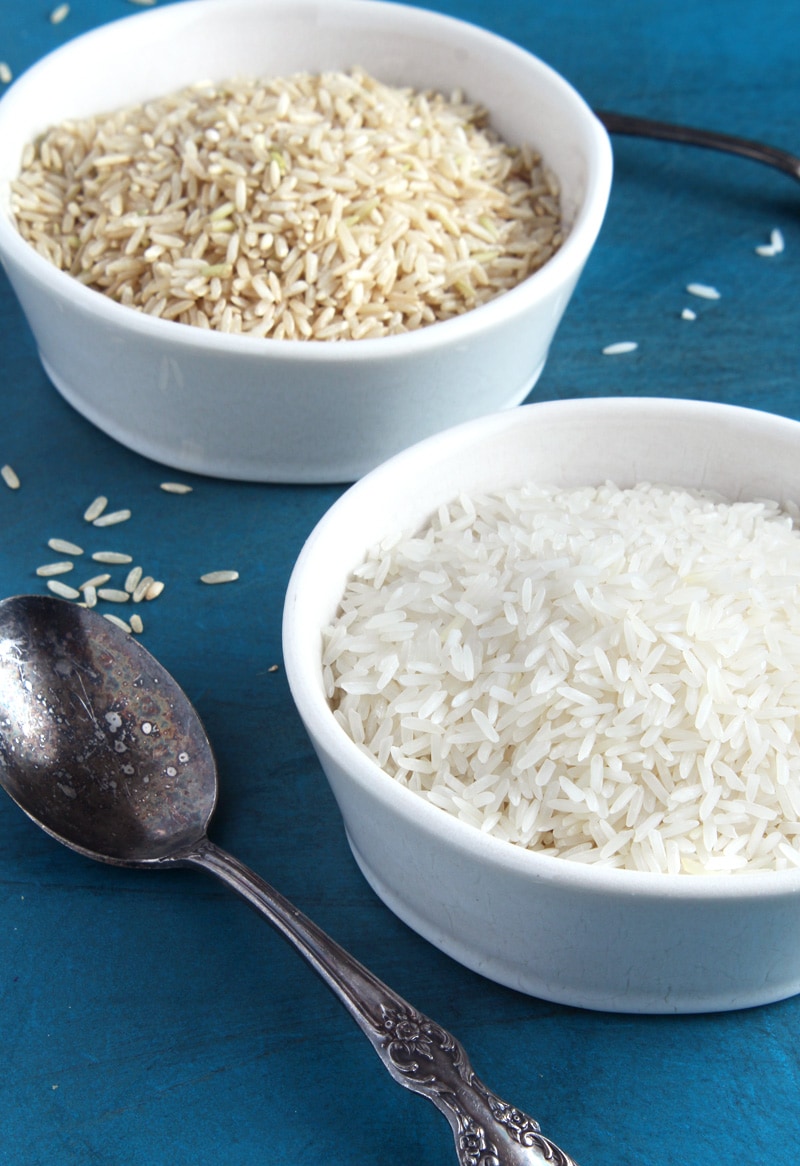
Does the water to rice ratio change depending on the rice you use (brown, white, jasmine, etc.)?
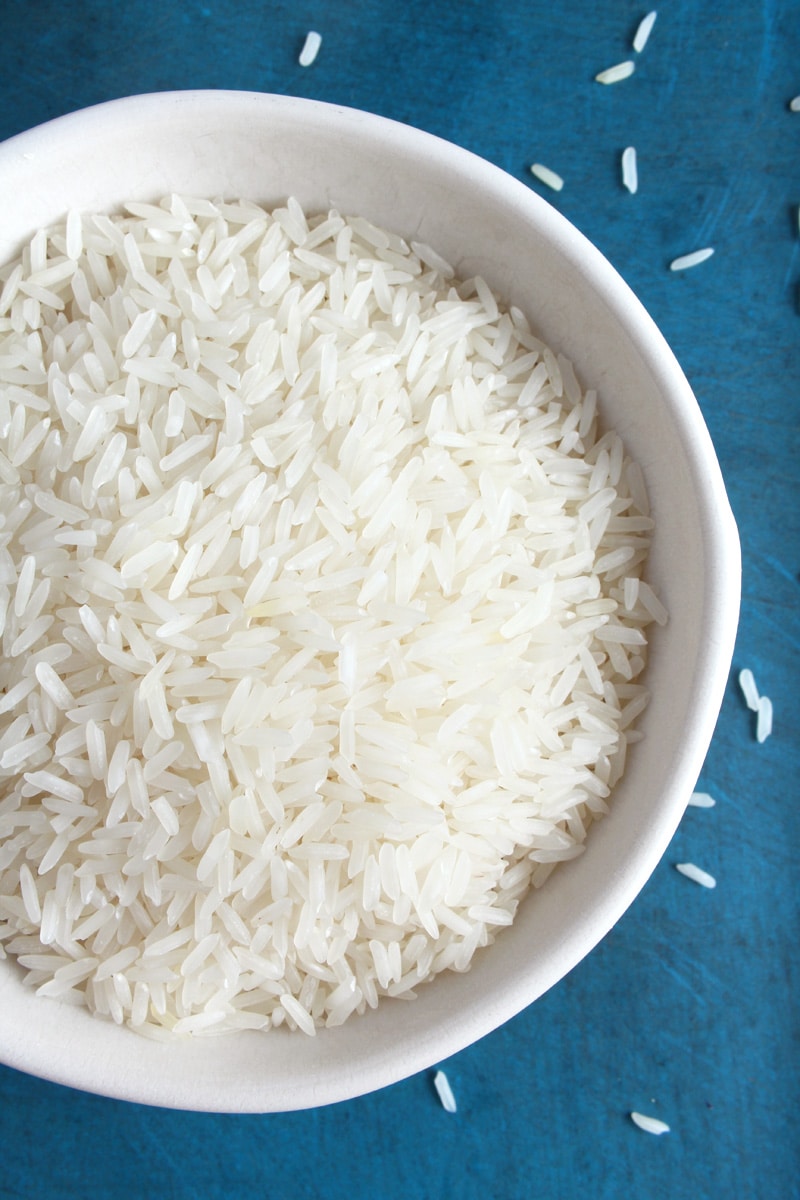
Nope! Whether you’re using brown rice or white rice, jasmine, basmati, short or long grain, the ratio is always the same. I have personally tested this with multiple varieties of rice and it always turns out perfect.
That being said, brown rice can be a little tricky, and the water ratio depends on personal taste. I like my brown rice to be a little firm to the bite, but my kids like it a little softer/fluffier. For fluffier brown rice, add an additional 1-2 tablespoons of water before cooking.
But how long does it take rice to cook in the Instant Pot, really?
While it only takes a few short minutes to throw your rice in a pressure cooker, we need to remember to factor in other times too.
White rice varieties will take 12 minutes to cook, while brown rice takes 15 minutes. Keep in mind that you have to allow the pressure cooker to heat up before it starts the timer, so this adds an extra 15-20 minutes to your total time. That’s why I allow about 30 minutes for my rice to cook.
What if I don’t have an official Instant Pot– do the directions change?
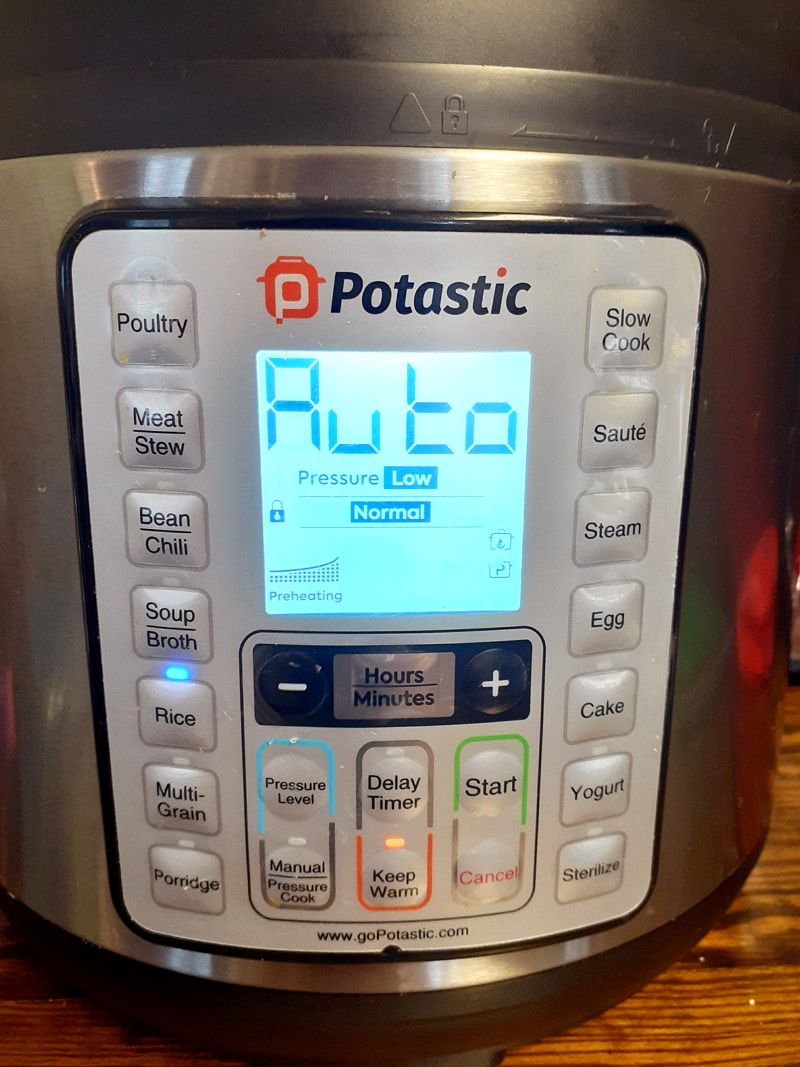
Ok the cat’s out of the bag– I don’t have an “official” Instant Pot either. My pressure cooker is a Potastic, but it still functions the same as the better-known name brand. All you need to cook rice is either a RICE button or use the manual setting. Both sets of instructions are included below.
What rice is best to use in the Instant Pot?
Honestly, I enjoy them all. But my personal favorite is brown rice, since it takes so much longer to cook on the stove. I guess cooking it in the pressure cooker makes me feel like I’m cheating the system, and at the end of the day it’s the little things that count.
How to cook rice in your Instant Pot in a few simple steps…
What you’ll need (see the recipe box for exact measurements) :
- Instant Pot or Pressure Cooker
- Rice of choice (Jasmine, Basmati, Brown, etc.)
- Water
Instructions:
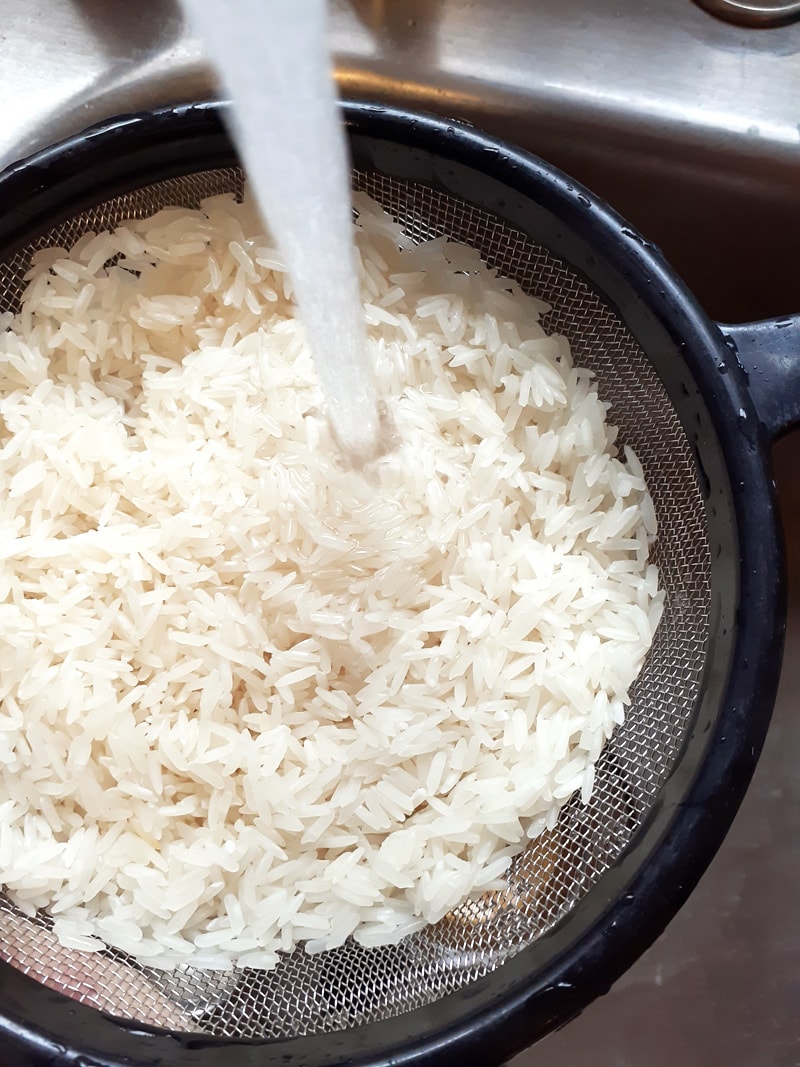
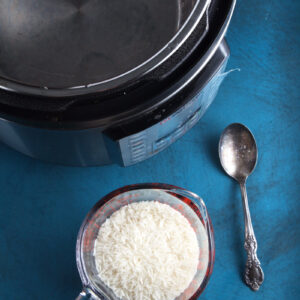
1. First, rinse your rice well. I like to use a mesh strainer and rinse my rice thoroughly under cool water until it runs clear. This washes off any dirt or dust that got into the rice during processing, and results in higher quality cooked rice.
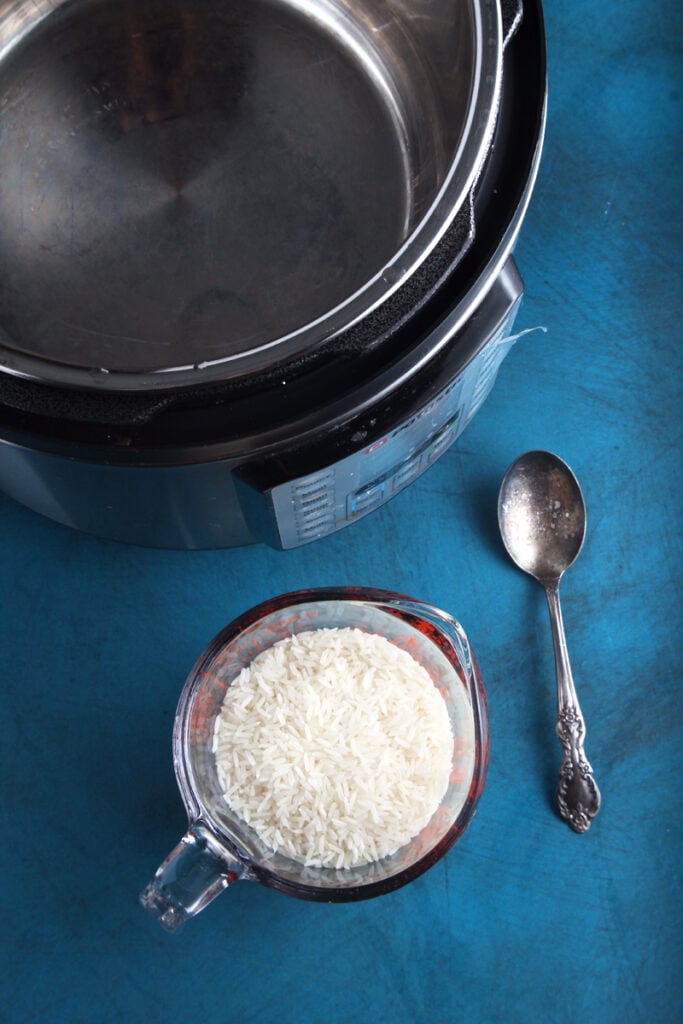
2. Next, transfer your rice to an Instant Pot (or other brand of Pressure Cooker).
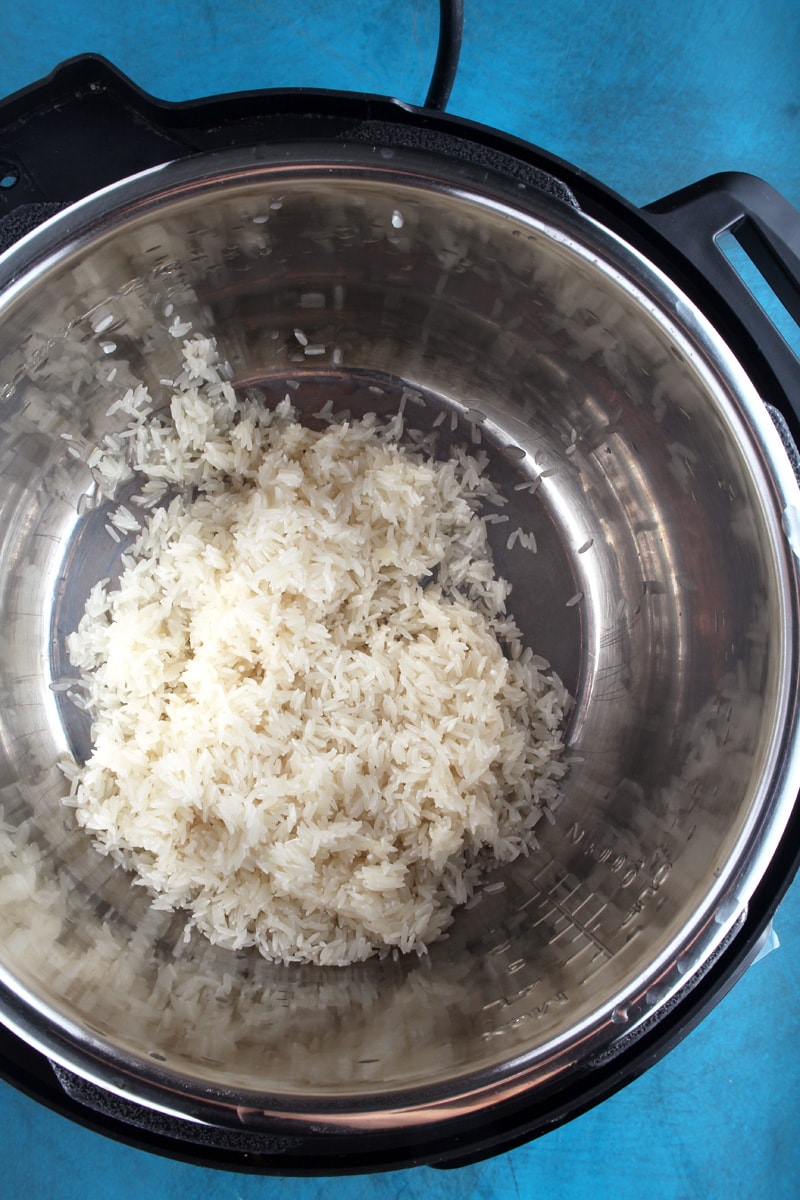
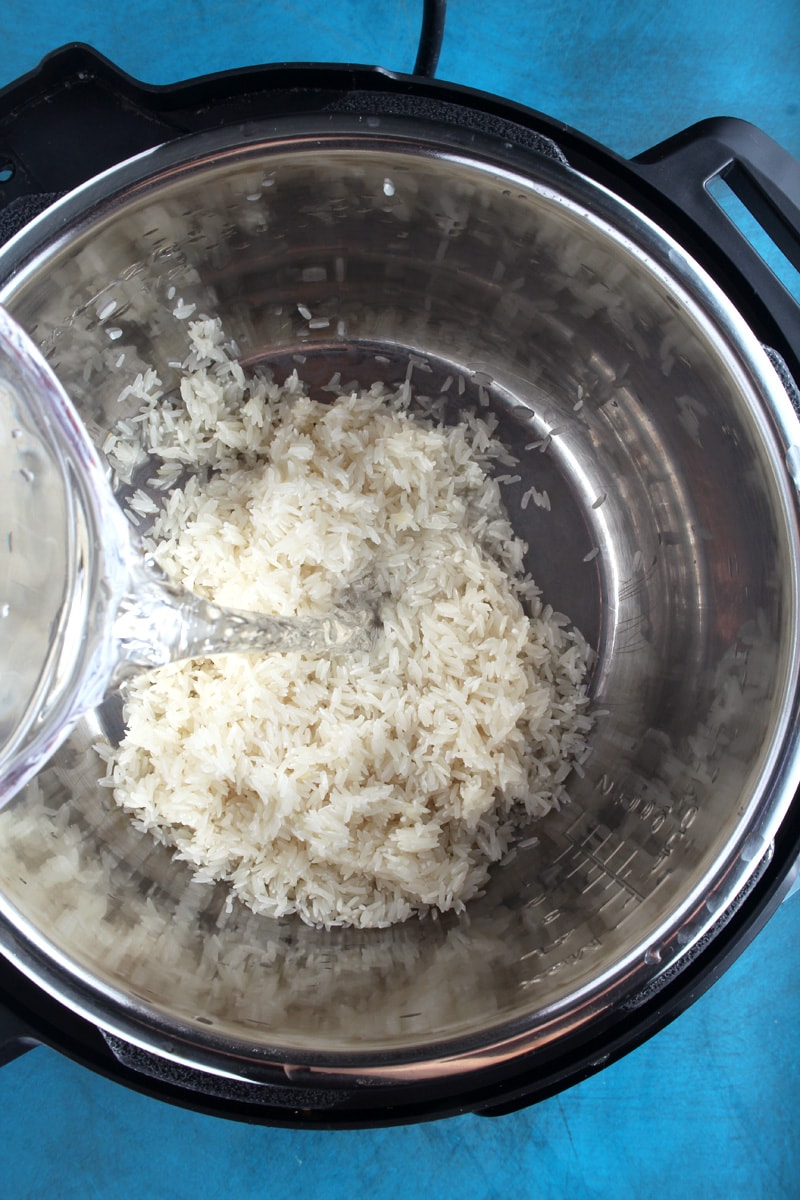
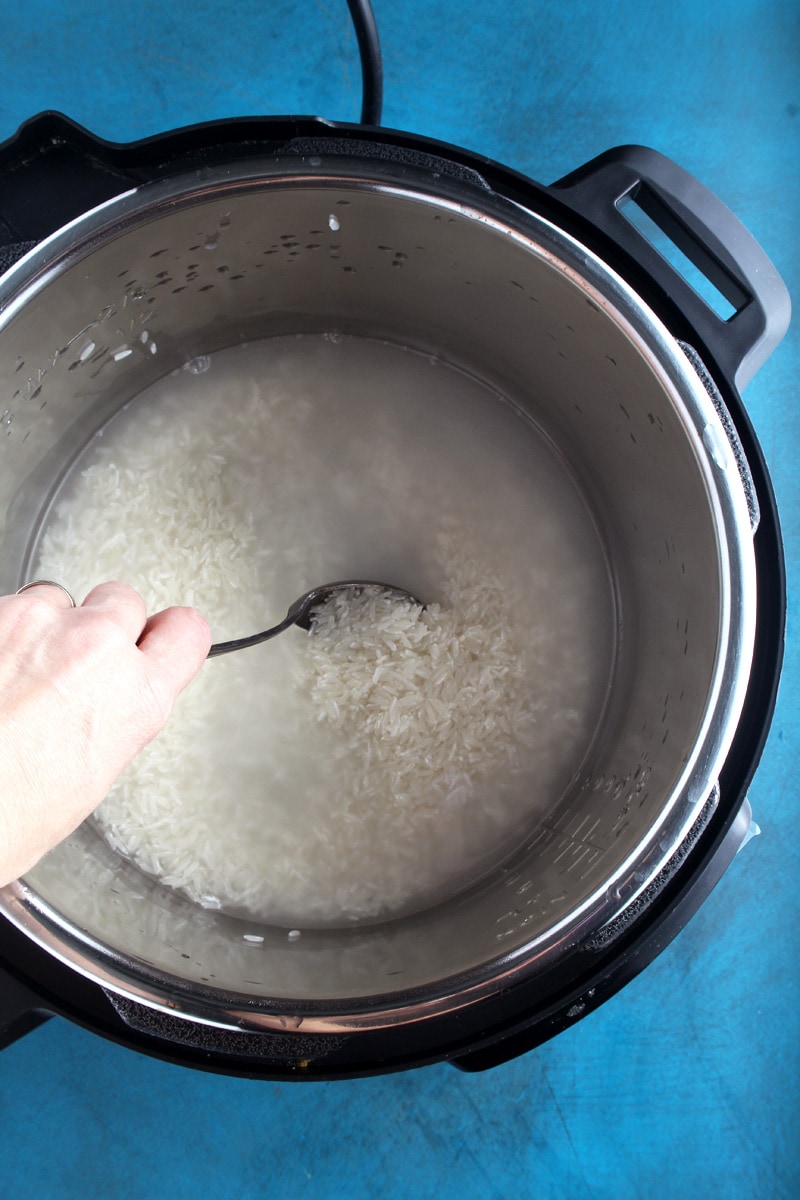
3. Add water and stir.
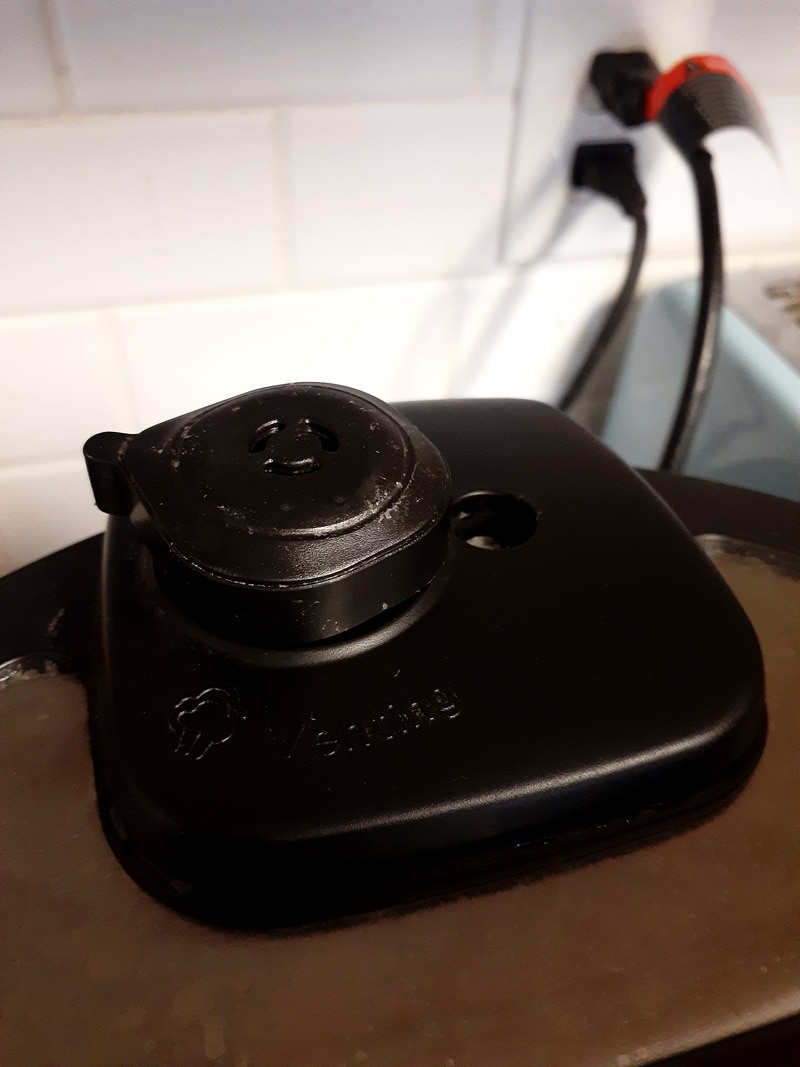
4. Plug in your Instant Pot, secure the lid, and check the vent cap to make sure it is closed properly.
5. For white rice varieties, set the Instant Pot to the RICE setting (or manual, low pressure for 12 minutes). For brown rice, set it to the MANUAL setting on high for 15 minutes. Press start.

6. Bada-bing-bada-boom! You have just made rice in your Instant Pot! Please make sure to carefully release the steam from the vent cap using safety gloves. I personally prefer quick release. Use in your own recipe or in some of the recipes below.
Recipes for your Instant Pot rice:
- Easy Vegan Fried Rice (coming soon!)
- Broccoli in Garlic Sauce
- General Tso’s Cauliflower (recipe included in my new cookbook, “Vegan Comfort Food”)
Allergy Information and Notes
- This recipe is vegan, gluten-free, nut-free, soy-free, low-histamine, and oil-free.
- Some people season their rice with salt before turning on the pressure cooker. I never do and this is totally optional. If you like seasoning your rice, a dash will do.
- Please make sure to use your pressure cooker according to the manual’s safety directions. This includes checking the steam vent, securing the lid in lock position, and releasing the steam using safety gloves.
- Personally, when I release the steam I prefer a quick release, which means that you turn the knob towards you to release all the steam at once. Just pretty please make sure you protect your hands!
- After the steam is released, safely remove the lid and stir the rice. Stir in dairy-free butter before serving or serve as-is with your favorite dish.
Cooking Rice in the Instant Pot, the Easy Way
Equipment
- Instant Pot
Ingredients
- 1 cup rice of choice, such as jasmine, basmati, brown, etc.
- 1 cup filtered water
Instructions
- First, rinse your rice well. I like to use a mesh strainer and rinse my rice thoroughly under cool water until it runs clear. This washes off any dirt or dust that got into the rice during processing, and results in higher quality cooked rice.
- Next, transfer your rice to an Instant Pot (or other brand of Pressure Cooker).
- Add water and stir.
- Plug in your Instant Pot, secure the lid, and check the vent cap to make sure it is closed properly.
- For white rice varieties, set the Instant Pot to the RICE setting (or manual, low pressure for 12 minutes). For brown rice, set it to the MANUAL setting on high for 15 minutes. Press start.
- Once the timer goes off, please remember to follow safety guidelines when venting/removing the lid. I like to release the steam from my pressure cooker using the quick release method (see notes) and protective gloves. After the steam is released, safely remove the lid and stir the rice. Stir in dairy-free butter before serving or serve as-is with your favorite dish.
Notes
- This recipe is vegan, gluten-free, nut-free, soy-free, low-histamine, and oil-free.
- Some people season their rice with salt before turning on the pressure cooker. I never do and this is totally optional. If you like seasoning your rice, a dash will do.
- Please make sure to use your pressure cooker according to the manual’s safety directions. This includes checking the steam vent, securing the lid in lock position, and releasing the steam using safety gloves.
- Personally, when I release the steam I prefer a quick release, which means that you turn the knob towards you to release all the steam at once. Just pretty please make sure you protect your hands!
- Nutritional facts are based on 1 cup of standard white rice.
Nutrition Information

Randy
I cooked rice in my Instant Pot today after seeing this blog post. This was the first time using my Instant Pot for making rice. Even though cooking rice on the stove is easy, It was a lot easier using the Instant Pot. Just put in the rice and water and push the rice button! And the rice came out perfect!
Randi Tisdall
Yay! That’s awesome– so happy I could help!