Making homemade tinctures when you’ve never done it before can seem understandably overwhelming.
“You mean I do what and then what!? With like, alcohol? And what KIND of herbs EXACTLY? But…but…what if I screw up the measurements? What if it doesn’t turn out that great? What if by mixing the wrong kind of ingredients I accidentally open up a magical portal over New York City/ kick-start the apocalypse/ start WW3/ save Mariah Carey’s career?” (Too soon on that last one?)
Let me reassure you that in NO WAY can mixing alcohol with dried herbs create a portal over New York City (or do any of those other things)…trust me, I’ve tried and it TOTALLY doesn’t work. #bummer #maybenexttimemariah?

Making tinctures doesn’t have to be an exact science, and the wrong measurements won’t spark WW3.
In all seriousness though, making your own homemade tinctures can FEEL like a job that is fit for a scientist or a highly educated botanist, but in reality it’s as easy as pie (okay maybe not pie because that flaky crust really is magic). So let’s just say that since it involves hard liquor, it’s as easy as mixing any kind of drink, which I’m sure all of you have done at least once…right?
Don’t answer that right away. I probably don’t need to know.
Related: DIY Fire Cider Herbal Remedy
Moving on, I just want to throw out that in no way shape or form am I a tincture WIZARD– in fact I’ve only made a handful of my own tinctures, but am 100% confident in telling you how to make them because once you do one you realize how seriously stupid easy it all is.
Impress your friends and your dog by making your own tinctures at home! Oh and don’t forget the health benefits:)
The best part about making your own tinctures is of course the major BENEFITS that your body will get from them (and a close second is the praise you’ll get from your friends for being so “amazing”…just being honest here).
Related: How to Create Your own Herbal Apothecary
And so, below you will find my step-by-step guide on how to make these babies yourself- sit back and enjoy friends!
[convertkit form=5022414]
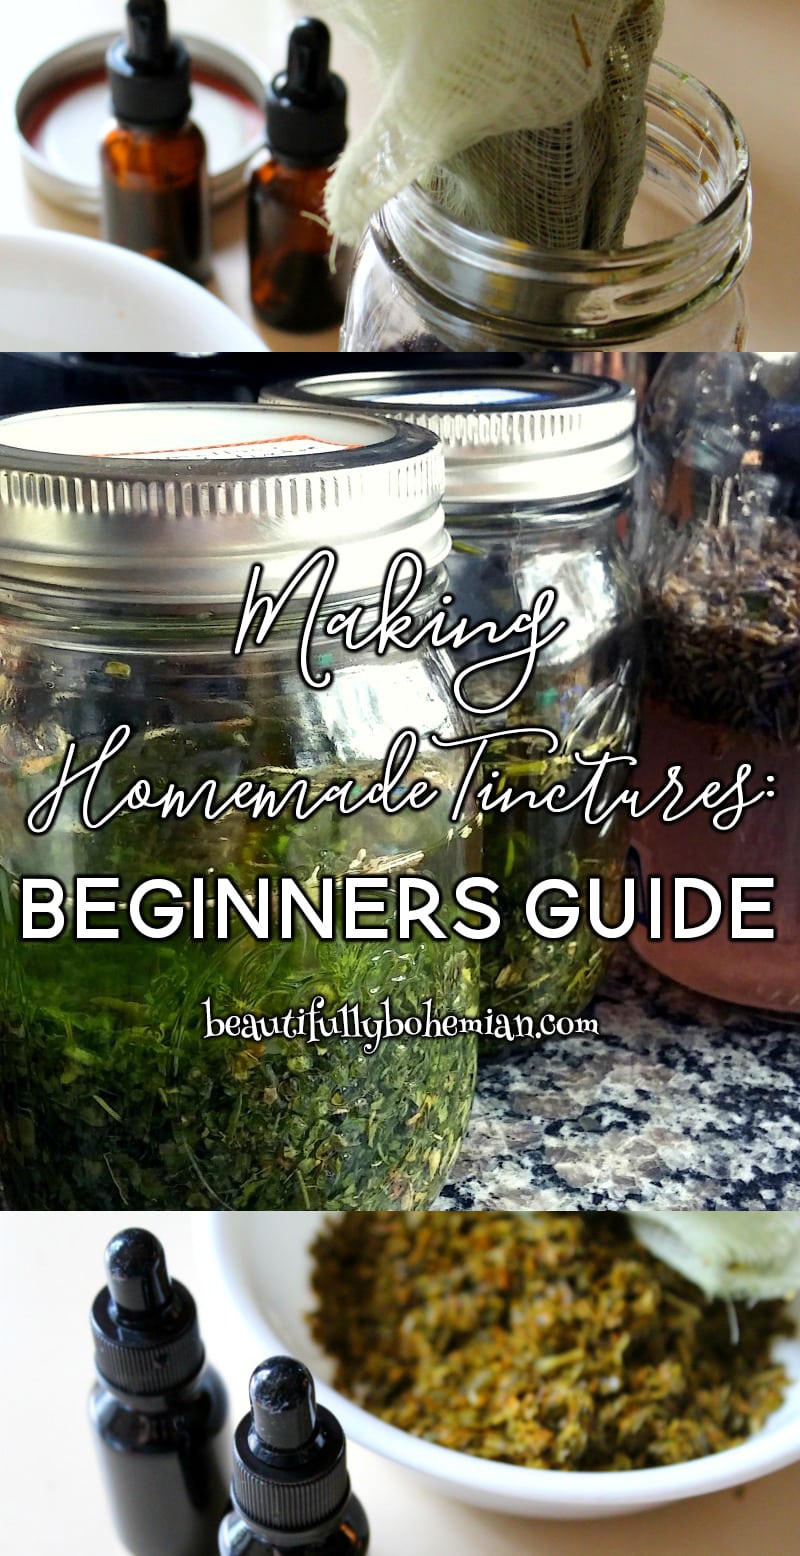
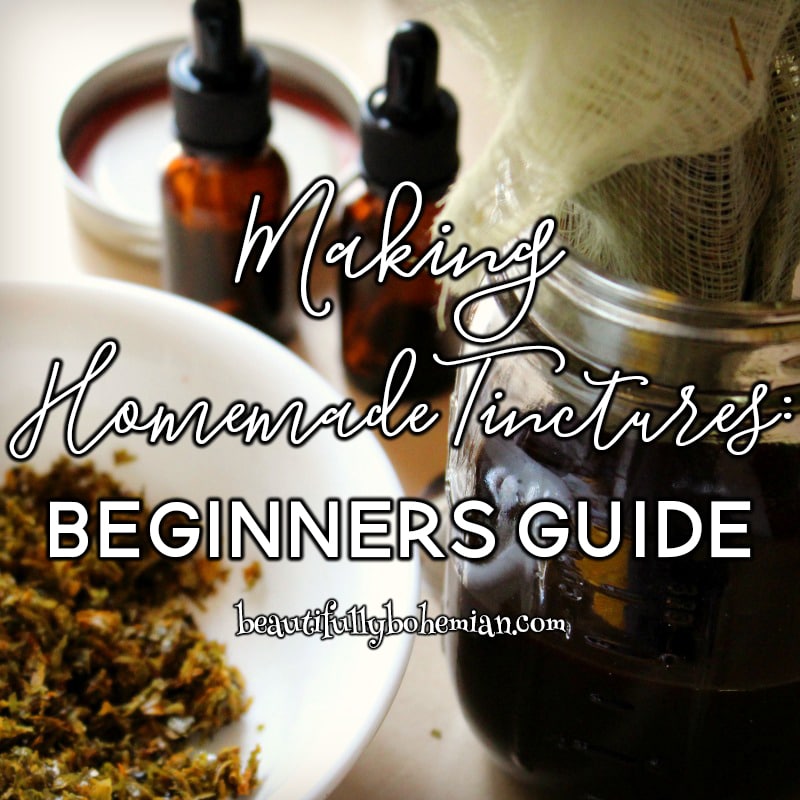
Making Homemade Tinctures: A Beginners Guide
The following instructions are based on the folk/simpler’s method, which is my FAVORITE because it requires no real measuring and is perfect for the home herbalist. For the weight to volume method, tinctures are typically made with a 1:5 ratio for dried herbs (that’s one part herb and 5 parts solvent) and 1:2 ratio for fresh herbs, so keep that in mind if you’re wanting a more “standard” tincture.
Why Tinctures?
Tinctures are amazing tonics that are great to have on hand for a number of ailments and situations. Just a dropperful or two a day can work wonders for your immune system and help aid your body in recovery, depending on what herb you are using. Personally, I have a small collection of tinctures that my family and I take frequently, and a couple that are saved for “emergency” situations lol- you just never know when a seasonal cold or flu will strike!
Related: DIY Chocolate Vegan Cough Syrup
The best part about tinctures (other than your ability to make your own) is that they can last for up to 5 years or more, so it’s definitely worth the investment!
Dried or Fresh Herbs?
Tinctures can be made with either fresh or dried herbs, however, when using fresh herbs it is recommended to air-dry OR fresh-wilt them prior to making your tincture, to allow some of the moisture to evaporate. I have been in the presence of some herbalists who are very strict about when they harvest their fresh herbs, picking only 2-3 days after the last rainfall and making sure their herbs are dried well before using. I tip my hat to that level of commitment lol, but currently I make my tinctures “on the fly” when I can squeeze it in between other activities.
That being said, I opt for dried herbs because I can get the job done in a fair amount of time. I should note that there are some herbs that lose their medicinal value after drying, but if you are purchasing your dried herbs from established herbal companies, they should be fine.
Related: Backyard Foraging- Dandelion: Uses & Identification
No matter what you use, just make sure that your herbs are high-quality, “fresh” (meaning processed yourself or bought fairly recently- no back of the cupboard dusty herbs here!), and USABLE. I can’t stress that last one enough- when making tinctures, pick something that you intend to use often and not something that is going to make a nice little knick-knack you show off at cocktail parties.
Solvent Choices
When you really break it all down, there’s only two things you should be concerned about when making tinctures. Number one is the herbs (which we covered) and number two is your solvent. Your solvent (or menstruum as it is sometimes referred to) is the liquid that will be extracting the medicinal properties from the herbs.
Rosemary Gladstar, one of the most popular herbalists, recommends using alcohol that is 80-100 proof. The “proof” is the measure of the actual alcohol content, so for example, an 80 proof spirit contains 40% alcohol and a 100 proof spirit contains 50% alcohol (the remaining liquid being water). I like using 100 proof because I’d rather use something that is going to extract the MOST out of my herbs, and vodka is definitely a good pairing with any herbage. You can also use rum, brandy, or grain alcohol.
If you are not comfortable using alcohol in your tinctures, you can alternatively use apple cider vinegar or vegetable glycerin, but the shelf life is under a year. If you are making these tinctures for your kids though and you don’t want to dose them with alcohol based tinctures, no matter how small the amount, I would recommend using apple cider vinegar because there is more versatility in their usage (think salad dressings for example). If you do decide to go the ACV way, you can read more about that process here.
Now that you got the inside scoop on herbs and solvent, let’s get this party started and make a tincture!!
Your Startup Materials:
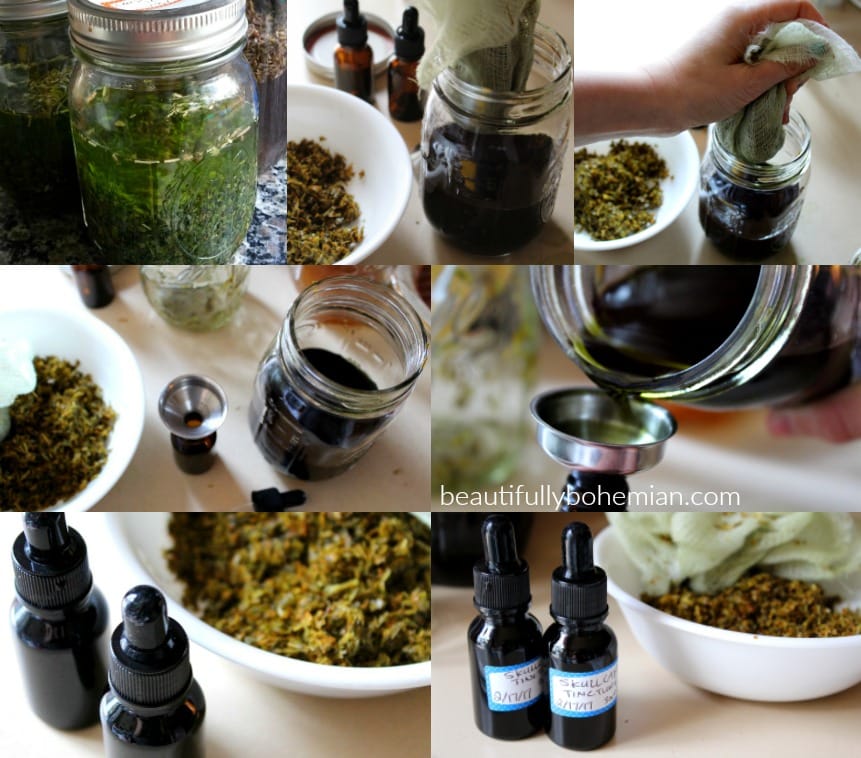
- Herb of your choice (for this post I used dried skullcap, a wonderful herb for nervous conditions and ADHD/ADD)
- Solvent of choice (see above for recommendations)
- Clean mason jar with lid
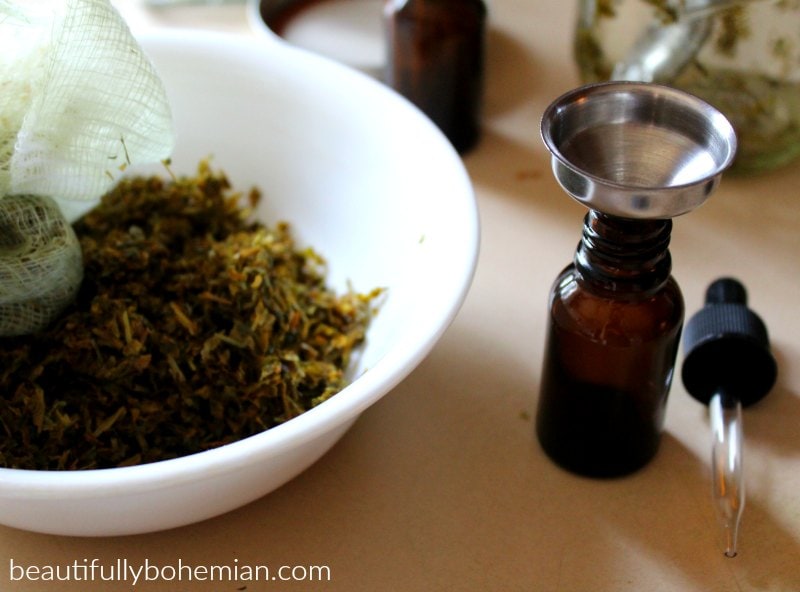
- Cheesecloth or another mesh fabric for straining
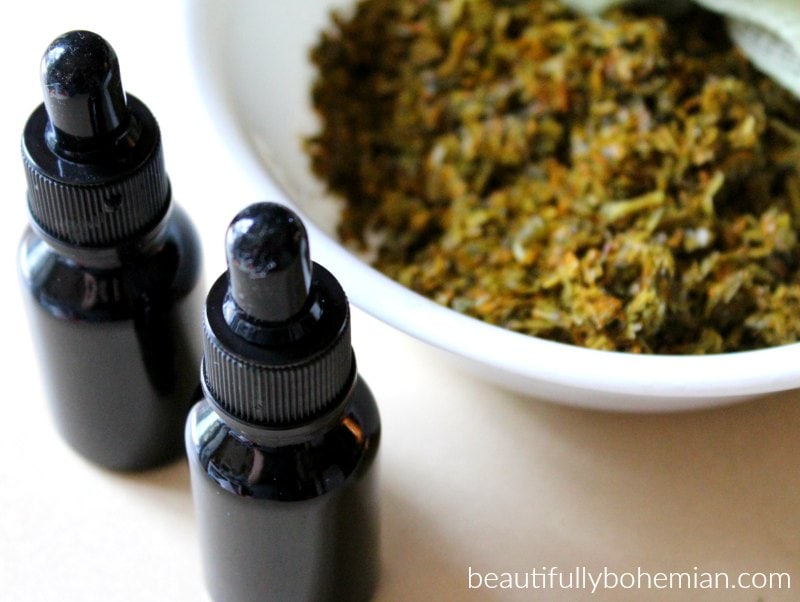
- Empty tincture bottle with dropper
- Small tincture funnel
- Label and pen
Process:
- Place herbs in a mason jar. The amount is up to you, just keep in mind that a standard tincture is a 1:5 ratio (one part herbs, 5 parts solvent). I think I eyeballed around a half a cup of skullcap for the tincture featured in this post and used a pint mason jar.
- Pour your solvent on top, covering your herbs by 2-3 inches, and then seal it with a tight-fitting lid. It’s normal for some of the herbs to float- just let them settle and after a couple days you can add more alcohol (to get to that 2-3 inch mark) if need be.
- Let your jar sit for 4-6 weeks in a sunny spot, shaking every day (or whenever you think about it) to prevent from herbs settling at the bottom. This also helps to infuse your amazing awesomeness into the jar, so don’t hold back on your positive vibes while gettin’ your shake on!
- When your 4-6 weeks is up, your alcohol should have taken on a dark green or brown color. Now it is time to strain! Grab your cheesecloth and use it to strain out the spent herbs (I usually line another clean jar with cheesecloth and then pour your herb mixture into that, see pics above for example). Toss or compost spent herbs.
- Once you have your pretty green liquid, it’s time to bottle them! Use a small tincture funnel (or any small funnel will do!) to transfer your liquid into your tincture bottle. If you only want to bottle one, just keep the rest of your liquid in the original mason jar and you can refill your tincture bottle as needed.
- Last but not least (in fact, this is the MOST important), LABEL your bottle!! If you don’t know what your tincture contains, it’s WORTHLESS. This also applies if you are making multiple tinctures at once- remember to always label!
Congrats, you just made your first tincture! Woo hoo!
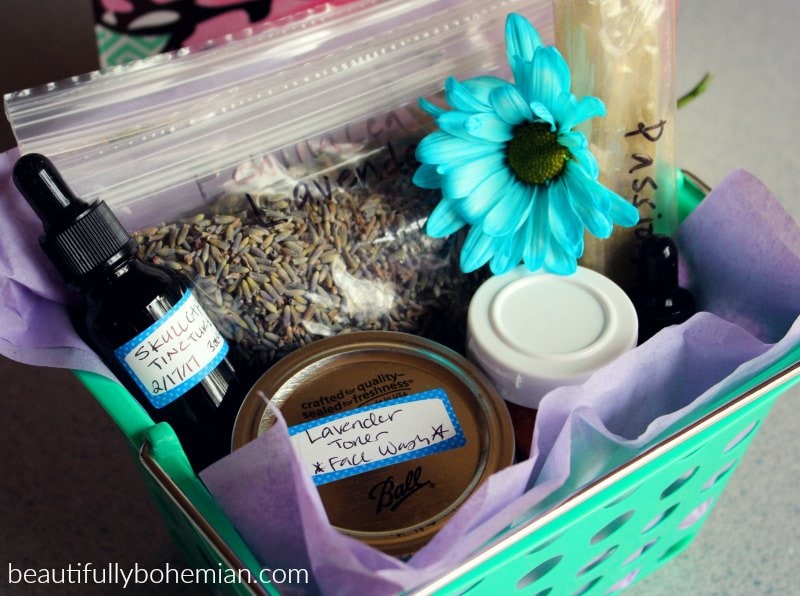
These make darling presents for friends or family btw. Below is a cute herb basket I pulled together recently for a dear friend, so keep this in mind when creating gifts for your quirky health-conscious loved ones!
Thanks so much for reading and taking the time to invest in your health and happiness! Do you have any questions? Feel free to ask below!

This post was shared on Healthy Vegan Fridays and I Am Pinnable.
kimmythevegan
Ah I thought I commented on this, but it looks like not.
“Let me reassure you that in NO WAY can mixing alcohol with dried herbs create a portal over New York City”
ahahah good to know!
This is a great post – I have always found the thought of making my own tinctures pretty intimidating, but you make it sounds so simple!
Thank you for sharing your beginners guide with us at Healthy Vegan Fridays! I’m pinning & sharing =)
Randi Tisdall
Lol, thanks so much Kimmy! I hope you get a chance to make your own tincture sometime:) Once you start, you can never go back LOL.
Leanna
Hi Randi: This is really an interesting post. My hubs has really bad joints and is always looking for something to help the arthritis. Personally I avoid medicines because you don’t know whats in them. This on the other hand you have full control over. With some luck maybe I can find a herb that helps him. Thank you for the idea.
Randi Tisdall
Hi Leanna, look into the powers of turmeric and ginger, both in which help with inflammatory issues and can definitely help with joint pain and arthritis! The best part is that these are herbs you can work into your dinners because they are so tasty!! And I’m with you- I try to avoid over-the-counter meds and prescriptions, and only take them when absolutely necessary, which fortunately is very rare! Best of luck with your herbal journey:)